Trim Your Dog’s Nails Safely
Request an Appointment
How to Trim Your Dog’s Nails Safely: A Step-by-Step Guide from My Best Friend Vet
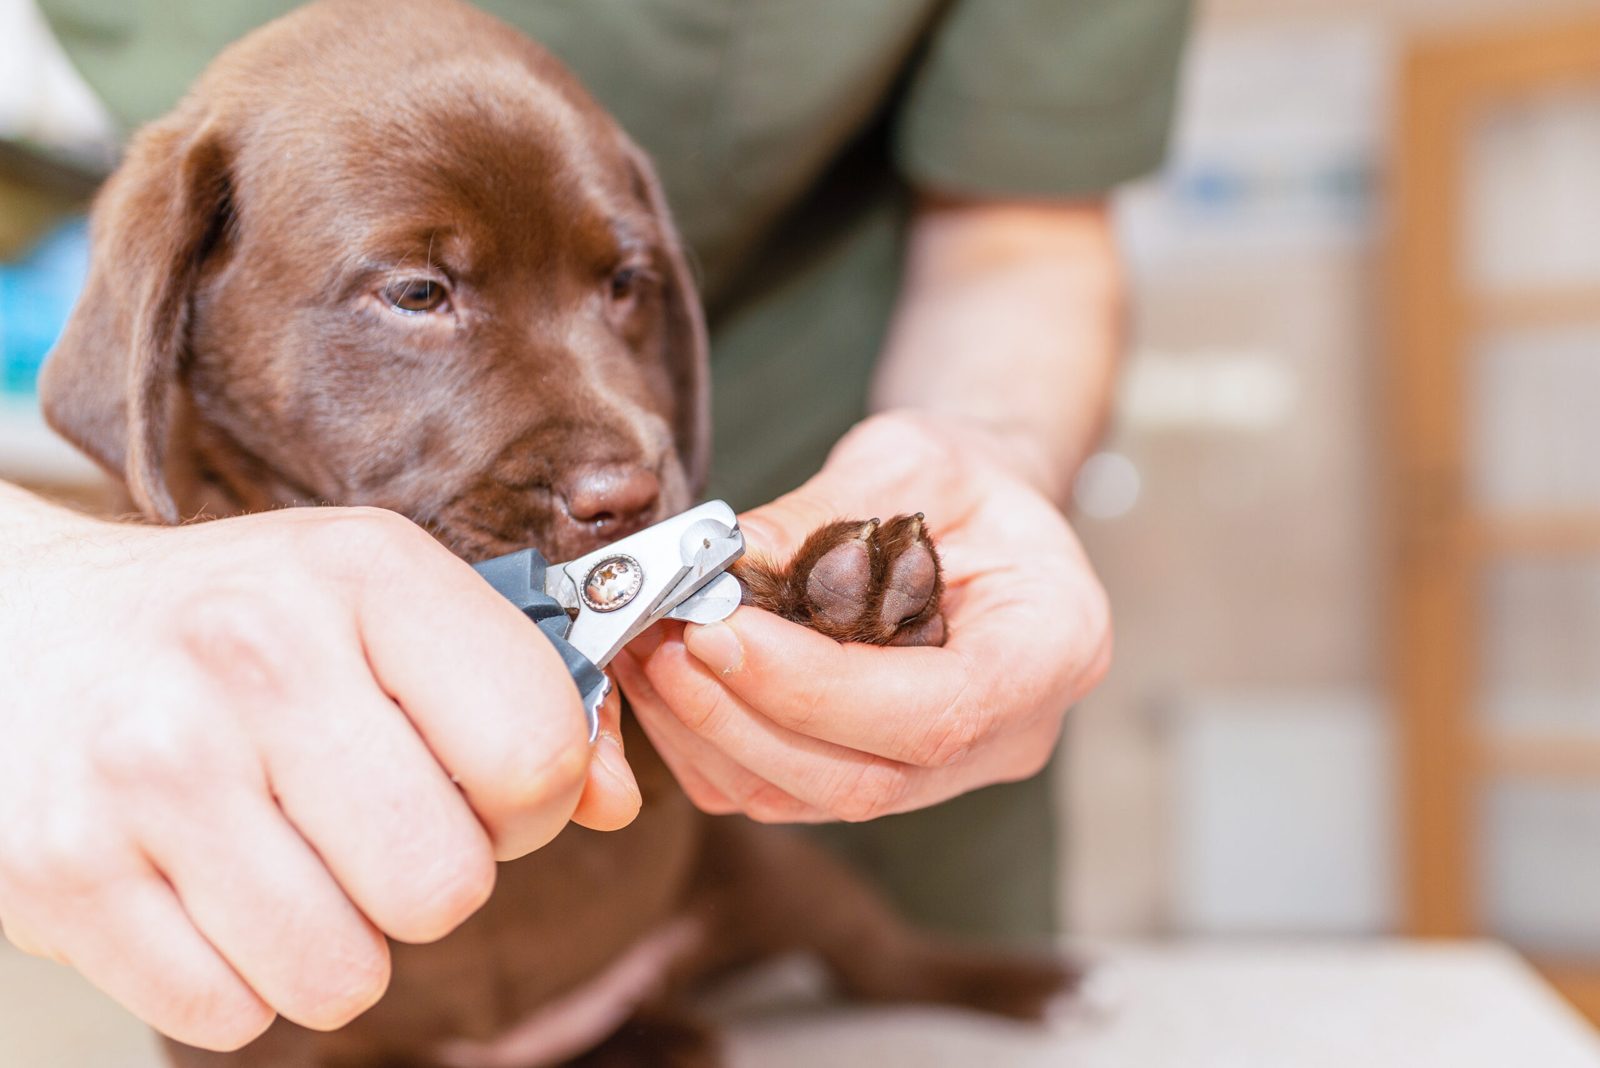
Trimming your dog’s nails is an essential part of maintaining their comfort and health, but it can feel intimidating for many pet owners. At My Best Friend Vet in Olivette, we understand that not everyone feels confident trimming nails at home — and that’s okay! Our team can handle nail trims during a technician appointment, or you can follow these veterinarian-approved steps to learn how to do it safely yourself.
Watch the full demonstration video: How to Trim Your Dog’s Nails at Home (opens in a new tab)
Preparing for Nail Trimming
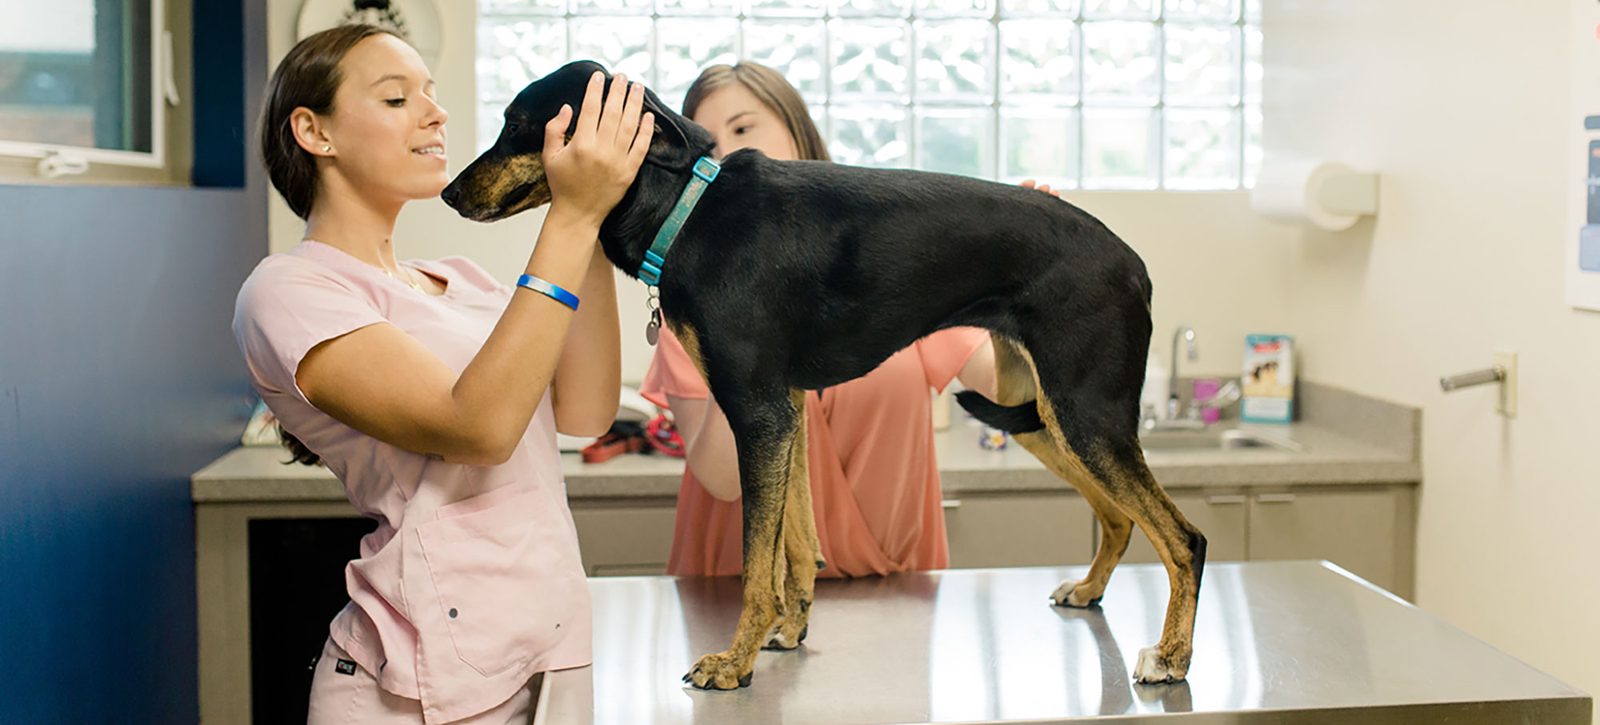
Before starting, make sure your dog is calm and comfortable. If your pet tolerates lying on their side, this is a great position for trimming. For wiggly or nervous pets, having a second person gently hold them can make the process easier and safer.
Gather these supplies before beginning:
- Nail clippers (scissor-style clippers are recommended)
- Optional: grinder or rotary tool for smoothing rough edges
- Styptic powder (such as Kwik Stop) to stop bleeding if needed
Our team at My Best Friend Vet can recommend the right tools for your dog’s nail type and size.
Identifying the Quick
The quick is the pink, living tissue inside your dog’s nail that contains nerves and blood vessels. Cutting into it can cause bleeding and discomfort. For dogs with light-colored nails, you can see the quick as a pink section inside the nail.
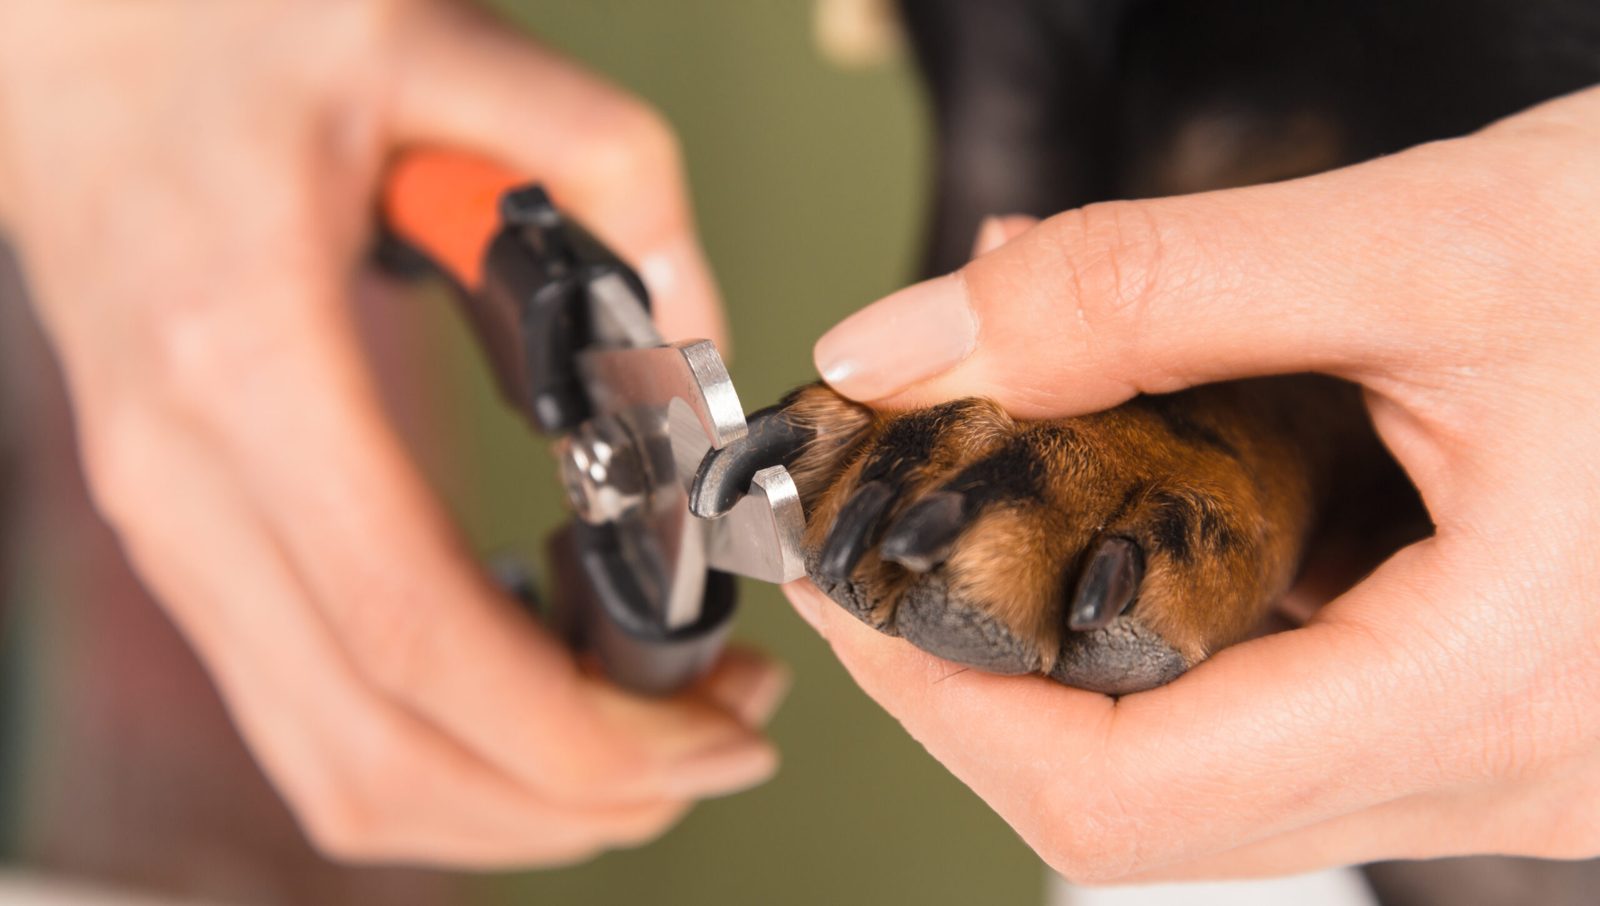
For dogs with dark nails (like Jack in our demonstration), the quick isn’t visible. Trim slowly, starting at the tip, in small increments. You’ll notice a subtle change in the nail’s texture or color when you’re getting close — it may appear softer or slightly hollow. Stop there to avoid injury.
Positioning and Technique
If your pet is relaxed on their side:
- Gently press on the paw pad to extend the nail.
- Trim a small section from the tip of each nail.
- Watch for signs that you’re approaching the quick — like a darker center appearing.
For large dogs, trim from multiple angles to round off sharp edges and avoid splitting.
If your pet prefers to stand:
- Hold the paw naturally — don’t pull too high or twist.
- Lift one leg at a time and clip each nail while supporting the paw.
- Be patient; standing trims often take longer but can be more comfortable for your dog.
Trimming Clear Nails
For dogs with clear or white nails (like Iris in our video):
- The quick is visible as the pink inner core.
- Trim the opaque, white portion only — stop before reaching the pink area.
- If you accidentally clip too far and cause minor bleeding, apply a pinch of styptic powder to stop it. Hold gentle pressure for a few seconds until it clots.
Finishing Touches
After trimming, check for sharp or uneven edges. You can use a file or grinder to smooth them. Reward your dog with a treat or praise after each paw to keep the experience positive.
When to Call My Best Friend Vet
Contact us if you notice:
- Extremely overgrown nails (nail curling into the paw pad)
- Torn off nails that leave the quick exposed
Many dogs find nail trims stressful and benefit from mild sedation for the procedure. This is a great option as it makes the pet more relaxed, and allows the owner to get a more precise trim on the nails. We also encourage owners to routinely play with their dogs feet, getting them used to the sensation of humans handling their paws.
Schedule a nail trim appointmenttt with My Best Friend Vet in Olivette — we’ll ensure your pet’s nails are healthy and comfortable year-round.
Watch the full demonstration video: How to Trim Your Dog’s Nails at Home (opens in a new tab)
Trimming nails on Dogs
It is not too late to begin training your dog to get their nails trimmed. You can make this experience a positive one. Nail trims should be done in the position that is best for your dog, whether they are sitting, standing, or lying down. Choose a location where your dog is most comfortable such as on your lap. Consider lateral recumbency for toenail trims as noted above in the video guide.
Your dog will not have the patience for all their nails to be trimmed during the first few training sessions, so start this process when they are not urgently needing a nail trim. Each training session should be kept to less than two minutes. Frequent, short training sessions are better than long sessions.
- When your dog is in their comfortable place, practice touching the top of their foot and then feeding a treat. Alternatively, you could place a snack of wet food or treats in front of them during this process (lick mat/distraction mat). Practice this several times, giving your dog a treat after each foot touch. Each foot should be touched separately. If your dog displays signs of stress or gets up to leave, stop the training and just play. The next session, remember to stay under your dog’s threshold of stress to keep this a positive experience.
- Practice handling each foot lightly, then feeding a treat. You may only be able to touch the foot but not pick it up the first few times. Gradually, practice until you can handle each of your dog’s feet and toes. Isolate each toe individually and practice inspecting the area where you will trim the nail. Remember to treat after every nail examination.
- When your dog is comfortable allowing you to isolate a toenail, try trimming one nail. Treat immediately after trimming it and then stop the session. Engage your dog in something rewarding like play or a petting session. Eventually, your dog will tolerate having multiple nails trimmed during the same session, but it will take time and practice to get there.
- When trimming the toenail make sure to trim only the tip and not to trim into the quick (blood supply). Use the photo below to help see how to trim without hitting the quick.